Microscopic Images
This is a project that I put together along with a teacher who was substitute teaching a freshmen physics class at the time. It was a 3 week intensive designed to get the students thinking about the microscopic world and develop their scientific investigative abilities.
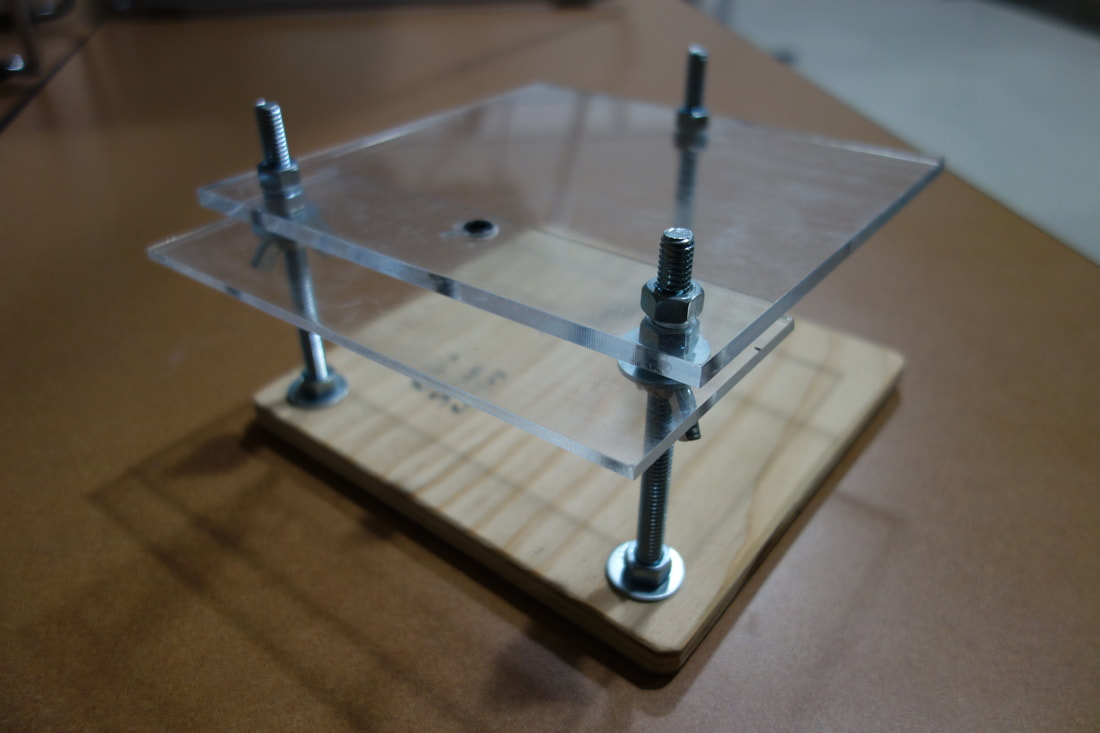
For this project, students were required to build a microscope based off of plans which we provided, and then use that microscope to take an impactful image of something important to them. The final product was a poster displaying their image and including both a description of the image and of the microscope.
For this project, students were required to build a microscope based off of plans which we provided, and then use that microscope to take an impactful image of something important to them. The final product was a poster displaying their image and including both a description of the image and of the microscope.
Summary
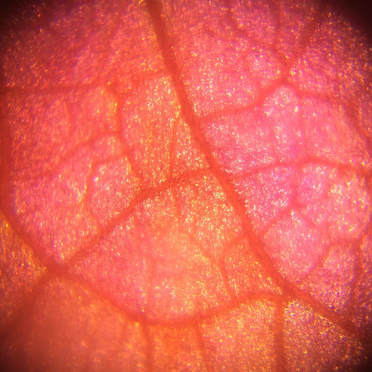
 A student image of a bougainvillea petal.
The building of the microscopes went well and all the students were able to use the drill presses and saws. We pre-cut the acrylic stages to size and had the students measure and drill the holes themselves. Bolts, nuts and washers were provided as were the lenses.
Once assembled, we asked the students to take pictures of 10 different objects. This gave us opportunities with each pair to discuss what made one image more appealing than another, and what content was interesting or uninteresting. This was one of the highlights of the project, because for a few days, students were continuously discovering new things that looked interesting under the microscope and calling their friends over to look.
Once students began to find an area of interest or a particular image that they were excited about, we asked them to improve it by adjusting the focus, altering the lighting, or cropping the picture in an interesting way.
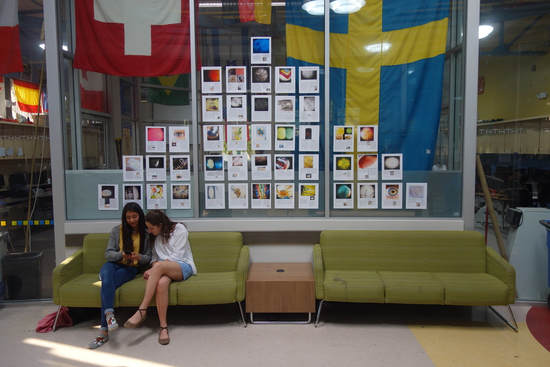
 The final display of student work
This was also very successful, because when the students found something that they were interested in photographing, they were motivated to improve their picture. We held peer critique sessions and had discussions about focus, depth of field, lenses, magnification and so on. Once students were able to describe why their photograph was out of focus or determine what the magnification was for example, the intention was that they would be better able to use these aspects of microscopic photography to their advantage.
For most of our students, this worked well, and details about these concepts were integrated into the descriptions of their images which were part of the final product. For others, this was arbitrary information, and they were happy to use trial and error to find an image that they were happy with. Both methods produced fair images, but the real difference was seen in the write ups.
For most of our students, this worked well, and details about these concepts were integrated into the descriptions of their images which were part of the final product. For others, this was arbitrary information, and they were happy to use trial and error to find an image that they were happy with. Both methods produced fair images, but the real difference was seen in the write ups.
Conclusion
|
I was very happy with this project. We gave the students a clear project description and built and tested the microscopes beforehand. Seeing students become naturally curious about the world around them was rewarding and their pride in their work was evident. I would have liked to do peer critiques of both the images and the write-ups, as well as a critique of the final posters before they were printed on photo paper, but time did not allow.
The combination of science, art, and writing in this project was very rewarding to me, as was the variety of images produced. I hope that all of my projects have similar intersections of subject matter and discovery. |
|
4/19/2017 edit
After a year, it's interesting to reflect on this older project. While I was happy with the organization and that all the students produced work, I see a lack of critical thinking. Giving the kids all the same microscope design doesn't require them to think about the function or purpose of microscopes - they just build what I tell them to. If I ever repeat this project, I think that starting with close up photography (unassisted by zoom lenses) will lead us into thinking about how to get better small scale pictures. From there, introducing macro photography and finally microscope photography would feel more natural. The final product is really the image, not the microscope, so it might have been more interesting to have larger groups design different 'scopes, maybe 3-4 per class with each member still responsible for their own images.
New Layout Sketch
Day 1 - Take a picture of small stuff (unassisted)
Day 2 - Print, mount 1 image/student with description in class, discuss
Day 3 - Mini clip macro lenses - Get images of a few of the same things, but smaller, and new things
Day 4 - Print, mount new images/descriptions on top of old ones by content, discuss
Day 5 - 6 Group up, find designs/design microscope. Drawing, description, inspiration references in proposal
Day 6 - 10 Build, test use.
Day 11 - Final coolest images. 1 of same subject from day 2, 1 of something new. Description of image and microscope used, reflection.
Day 12 - Final images/write ups printed and displayed
