I made this first, then realized I would need to scaffold the illustrator part and give the class a place to practice, so I made the wall styles
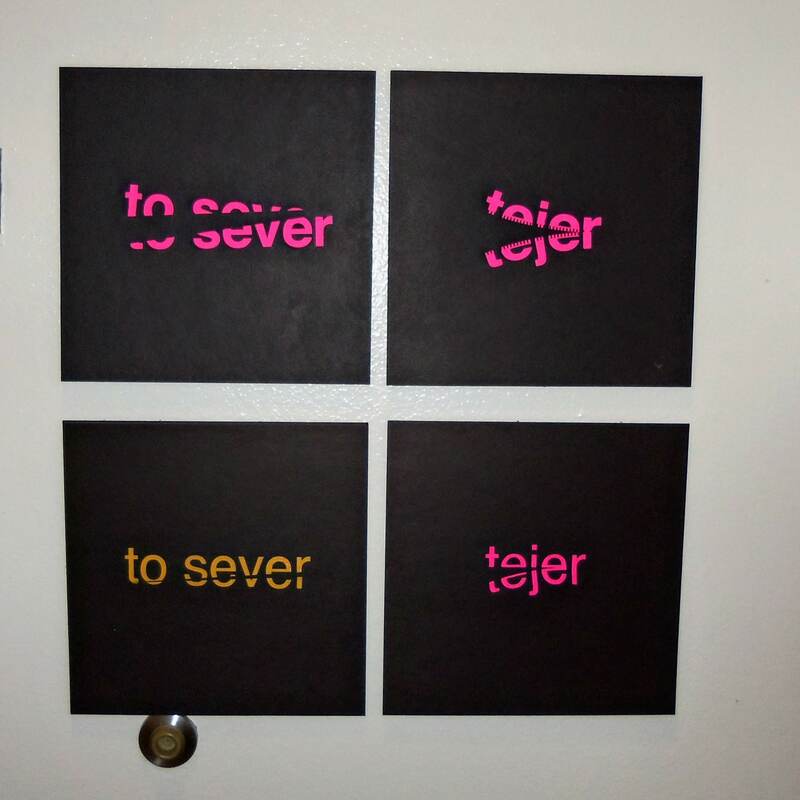
The top row is the second draft of my words. I chose a brighter color and amplified the motions I was going for.
|
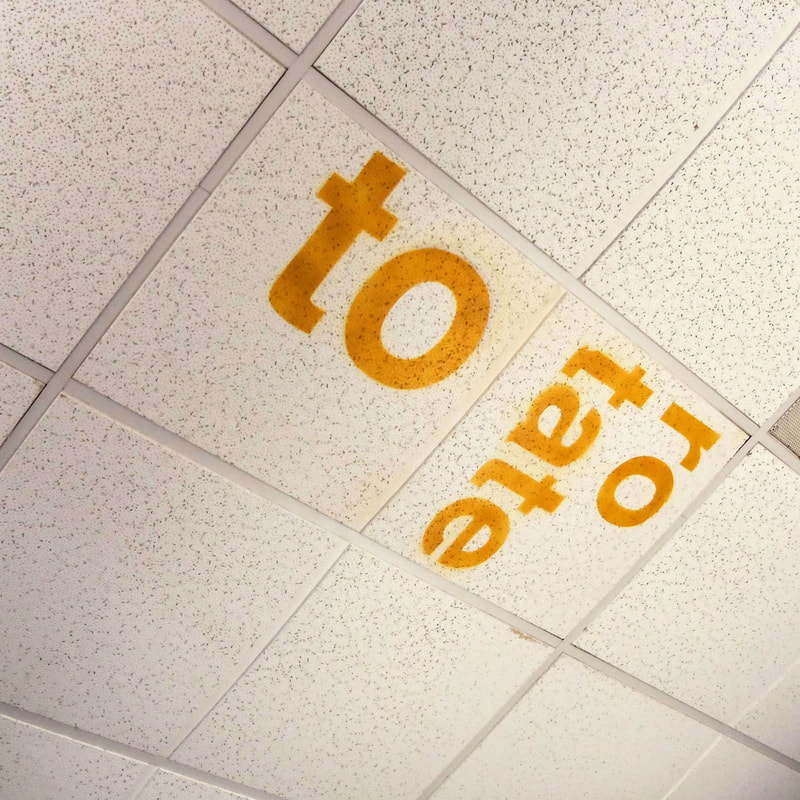
InspirationI recently found Studio H and Unprofessional Development. These are two parts of a project based teaching group that focuses on design. When I saw their "Ceiling as Site" project I immediately wanted to try it. I picked some of my favorite words from Richard Serra's list of beautiful words and drew up some designs in Illustrator which I lasercut into cardboard templates.
When I spray painted with my stencils there was some bleed and it doesn't look as clean as I would like. I think that with the class I will have them trace the design and then tape it off instead of spraying. Additionally, I am good with illustrator, so it was easy for me to make the transformations that I did. I decided to make a step 1 where the class makes small laser cut displays as a practice before going big. ConstraintsTo ensure that the words don't look like garbage when mounted together there are some constraints or rules that I discovered while working on this myself.
1. Helvetica bold, lower case. For the first step they need to be 150pt, for the second part the minimum size is 900pt 2. Only one color is allowed per work. Nobody can use more that one color at a time. FeedbackI re did my original words because they were not expressive enough. Based on feedback from colleagues I decided to also use poetry of Pablo Neurda. Pulling verbs from poetry actually works well, and I want to provide the class with English and Spanish sources to choose from.
|
The Plan
Intersession is only a week, which is good and bad. It's cool to have such a compressed project but bad because it actually is a long time. I have the students for the entire day so I need the work to actually take a whole week of uninterrupted class time.
Day 1: Trip to the Broad in LA
Day 2: Word wall.
- Look over the verb lists and poems. Pick 3 or 4
- Start drawing what they might look like
- go into Illustrator and use the transformations to make it look like you want.
- Critique round
- Lasercut and store
Day 3: Ceiling
- Get into a group of 2-3
- Make a new word transformation based off your best. You can use as many tiles as you have in your group.
- pull down tiles and prime them/ cut small scale templates on illustrator.
- Spray mini tiles to make sure it looks cool
Day 4:
- critique rounds for mock ups and update. Make second mini version
- Cut big templates and lay out for spray
- all walk to grass and spray together, let dry
Day 5:
- touch ups with primer
- Photos and victory lap
- mount to ceiling
- mount verbs to site in hall