-
Projects
- Talkin Trash
- Something New
- Nothing New
- Shift
- Ritual
- Colors and Shapes
- Tensegrity
- Lakeview Cut
- Second Nature
- It Gets Funkier
- Making Space
- Rotational Volumes
- Changed By Chairs
- Gearboxes
- Pendulums
- Microscopic Images
- Inspraytion
- 60 Word Short Stories
- PBL Illustrations
- Foundations Podcast
- Inclusive Strategies Podcast
- Helpful Links
- Blog
- About
My Finished Model
|
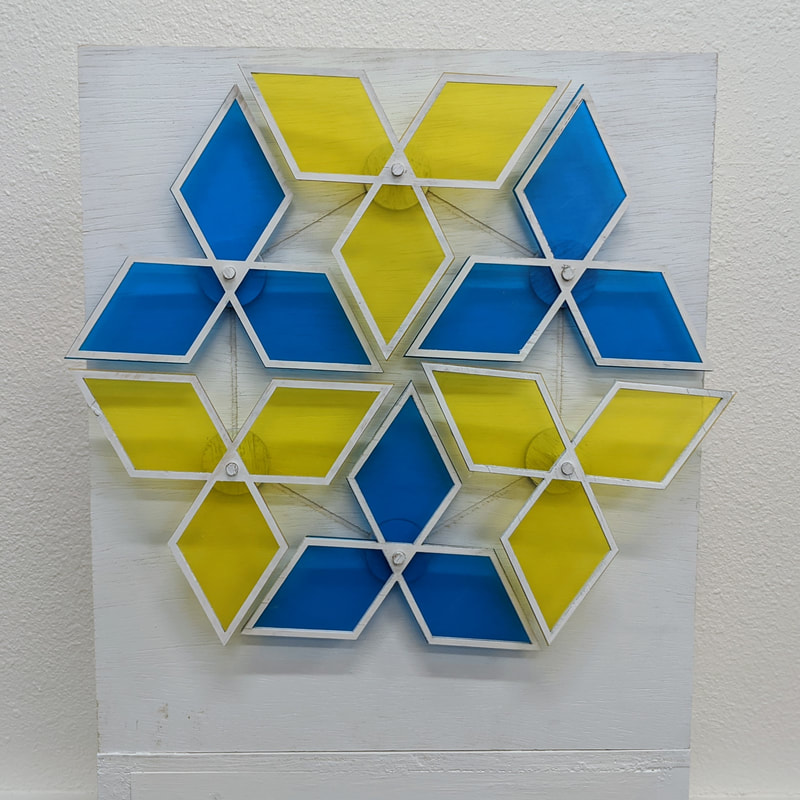
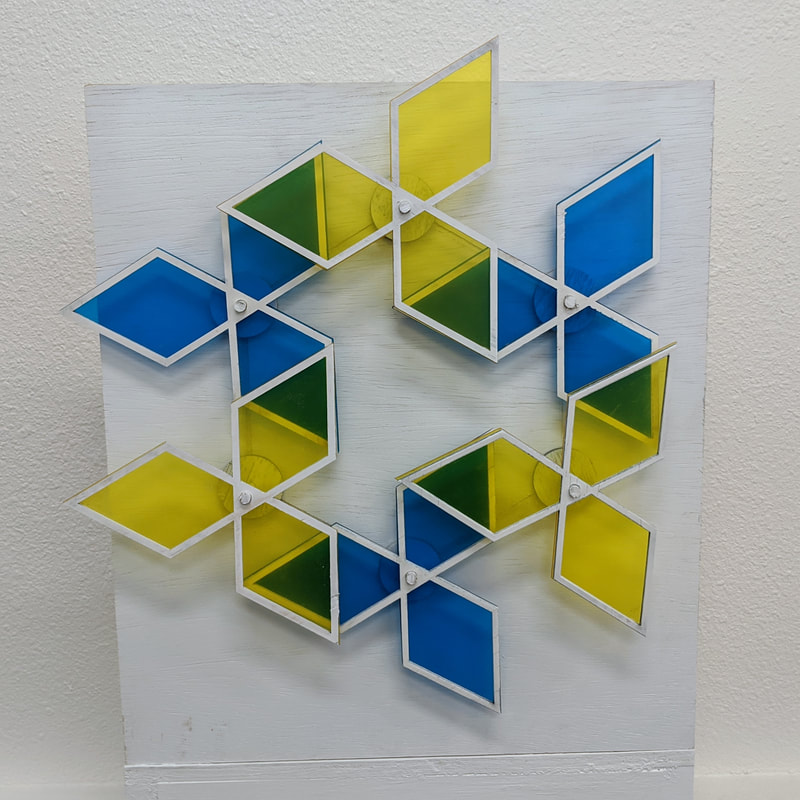
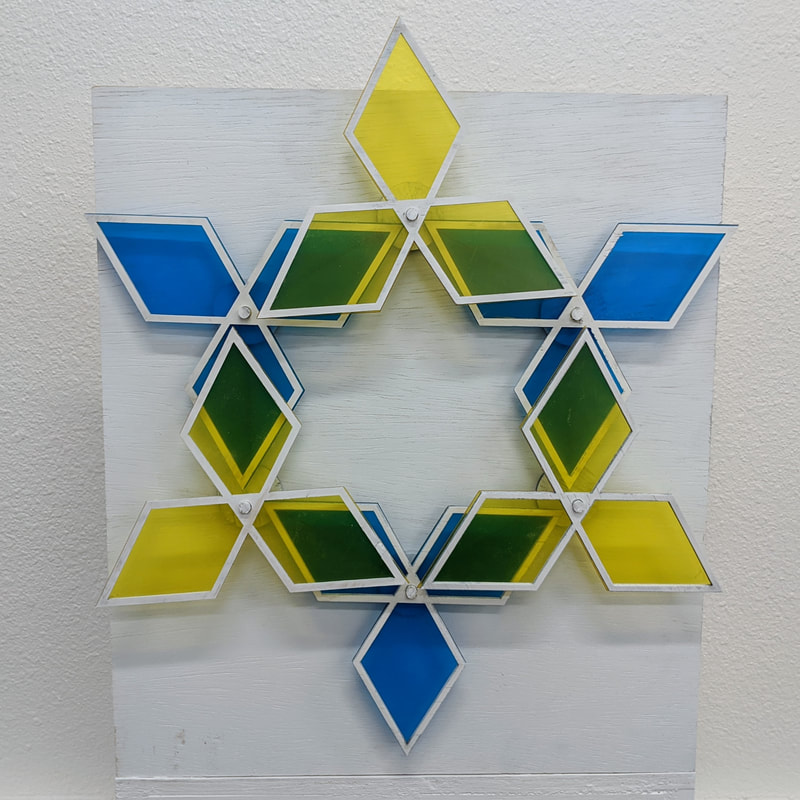
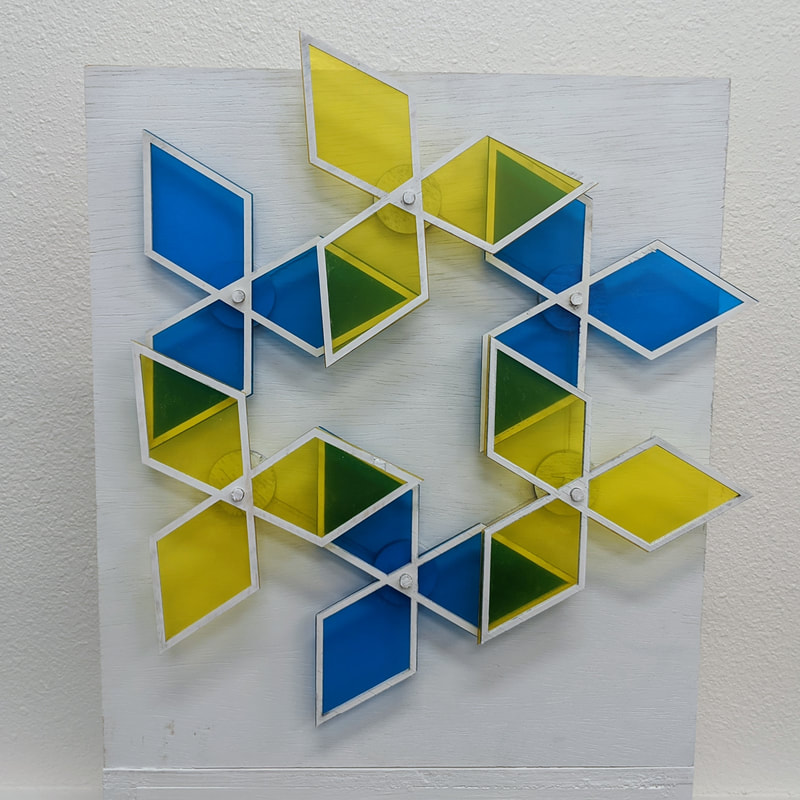
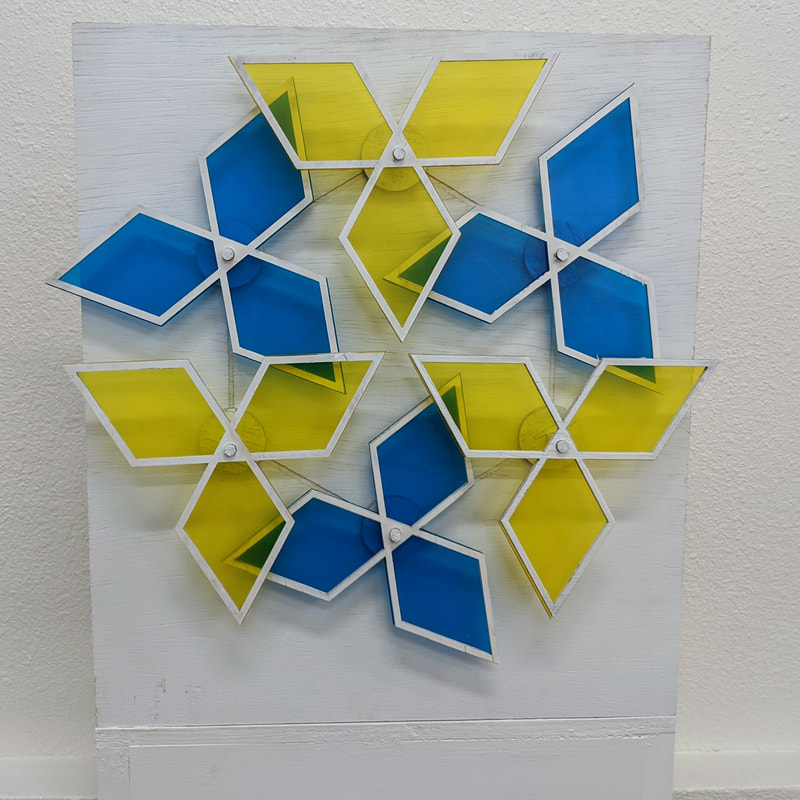
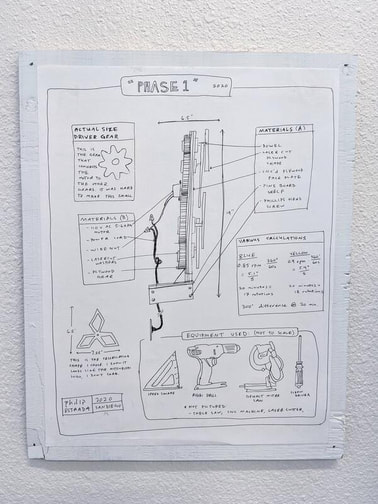
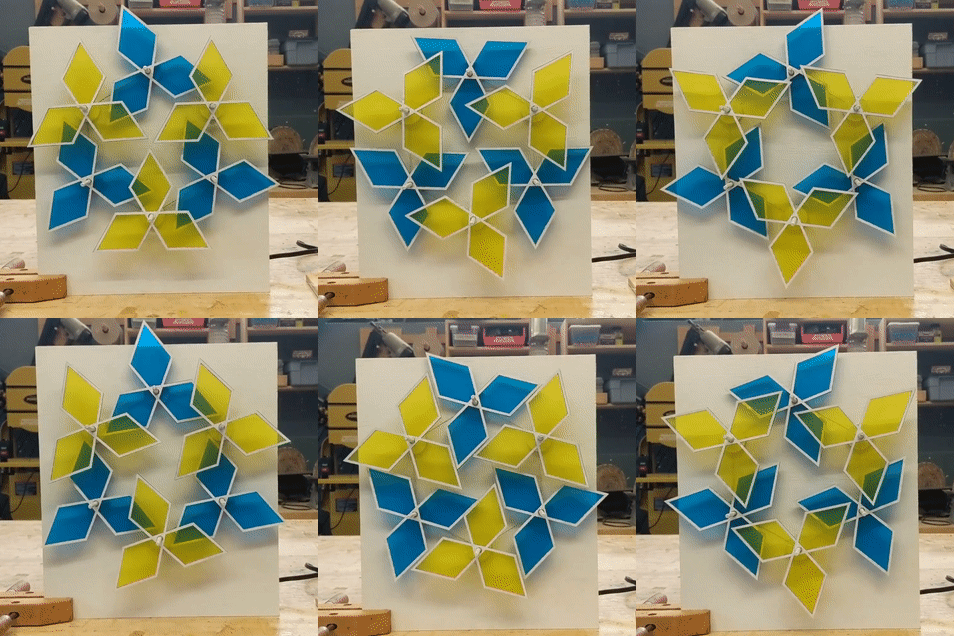
Above is my finished model for this project. It is made of plywood, color gels, dowels, and a 110v motor. The yellow and blue gears spin in opposite directions at slightly different speeds. The blue shapes are turning at 0.85 rpm and the yellow ones at 0.9 rpm. Because they are spinning out of phase, they don't repeat the same shapes very often. Every 20 minutes the shapes line up in a pattern identical to their starting position because in 20 minutes the blue shapes will have rotated 17 times and the yellow ones 18 times. During that 20 minutes, the shapes are out of phase and constantly changing.
The effect of all this is that the viewer will not see the same shape twice unless they observe the machine for 20 minutes. Very similar shapes present themselves about every 18 seconds (the time it takes the blue gears to turn 120 degrees) but in reality the yellow gears have advanced 6 degrees further than the blue ones in that time, which is barely perceivable. Once another 18 seconds passes, the shapes are that much more modified and out of phase. To sit and watch the machine slowly change and resolve new shapes is mesmerizing to me. |
|
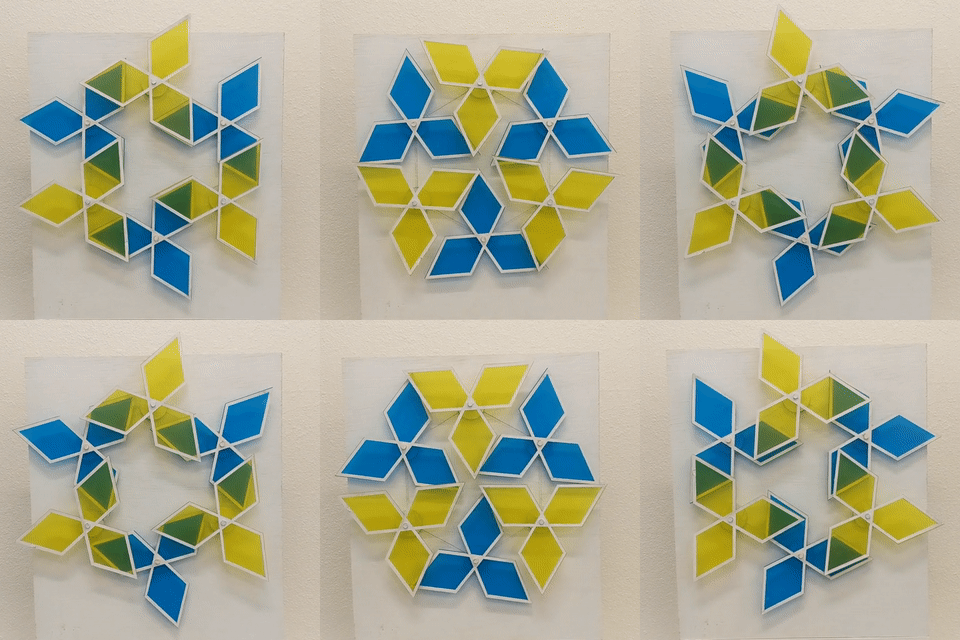
In the animation to the left I took a picture every time the yellow shape turned 360 degrees. The animation shows how the relationship of the blue and yellow shapes changes over time. The yellow shapes rotate 15 degrees further than the blue ones every 60 seconds, so.
When students build their own machines, they will first decide what shapes to make. Using my examples as models, I will show them advantages and disadvantages of different styles of shapes. They will be able to use only one shape or more than one, depending on what looks cool. Students will also need to choose a speed ratio between the different shapes. They cannot all turn at the same speed, but they'll need to decide how different their speeds will be. I'm confident that with these variables, all the student projects will be unique and interesting. |
Inspiration
|
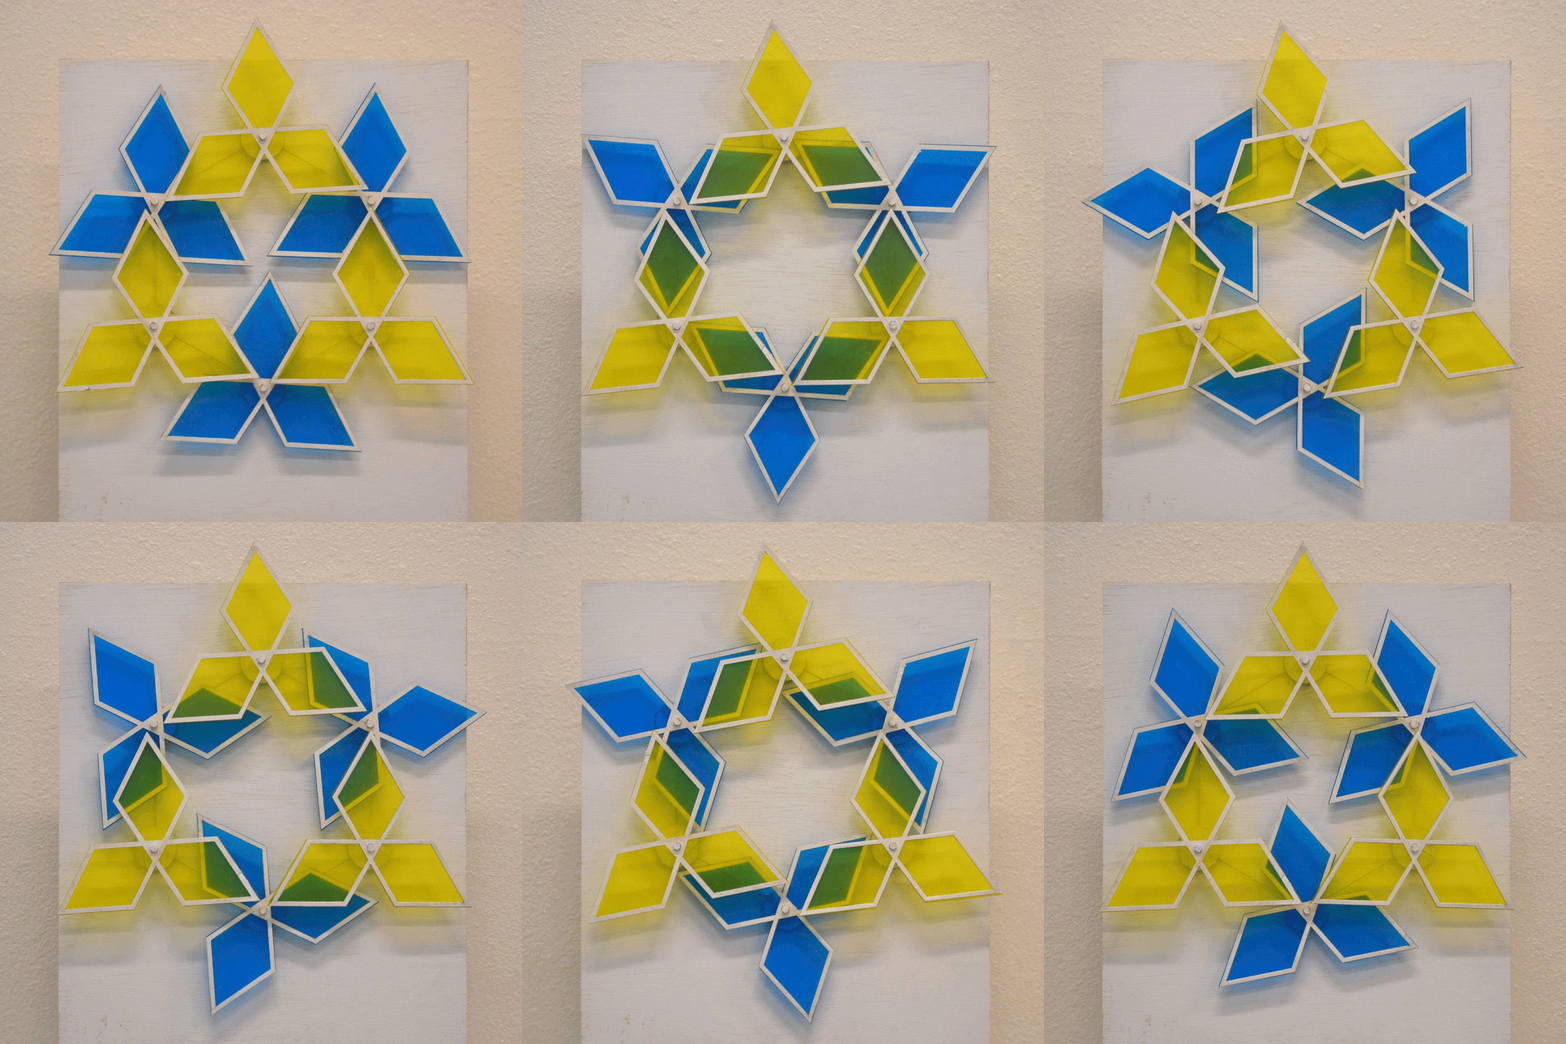
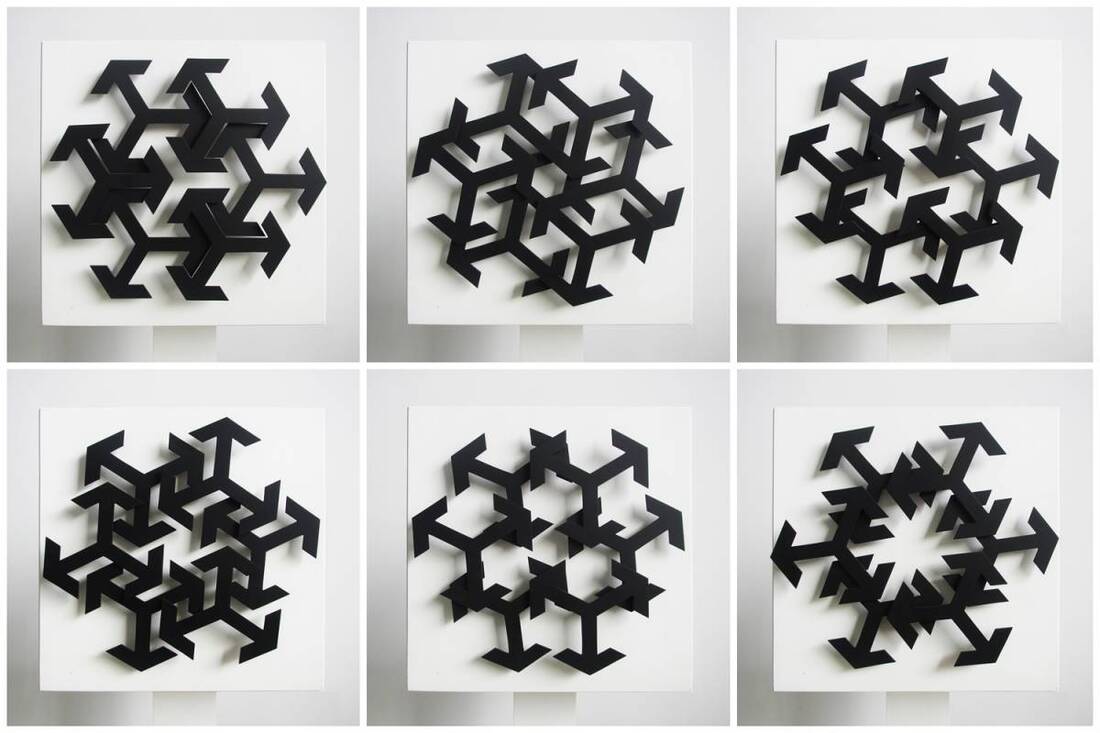
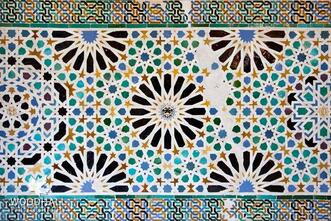
I was inspired to try this project after seeing Jennifer Townley's piece called "Alhambra" (see above). The shapes in her work are referencing tiles from a cathedral in Spain. To learn about how her machine was made, I decided to try and copy it.
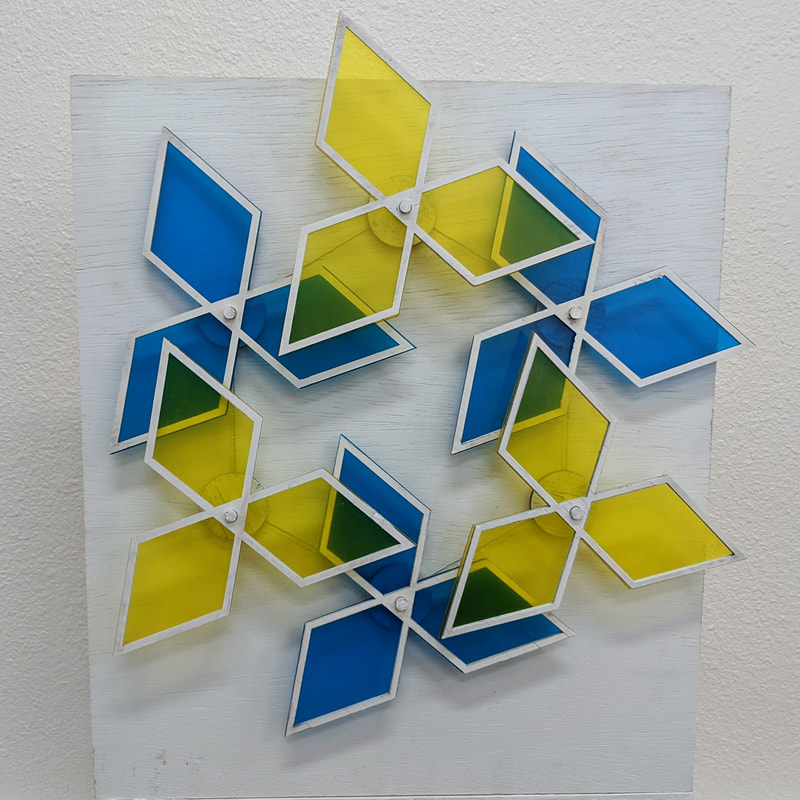
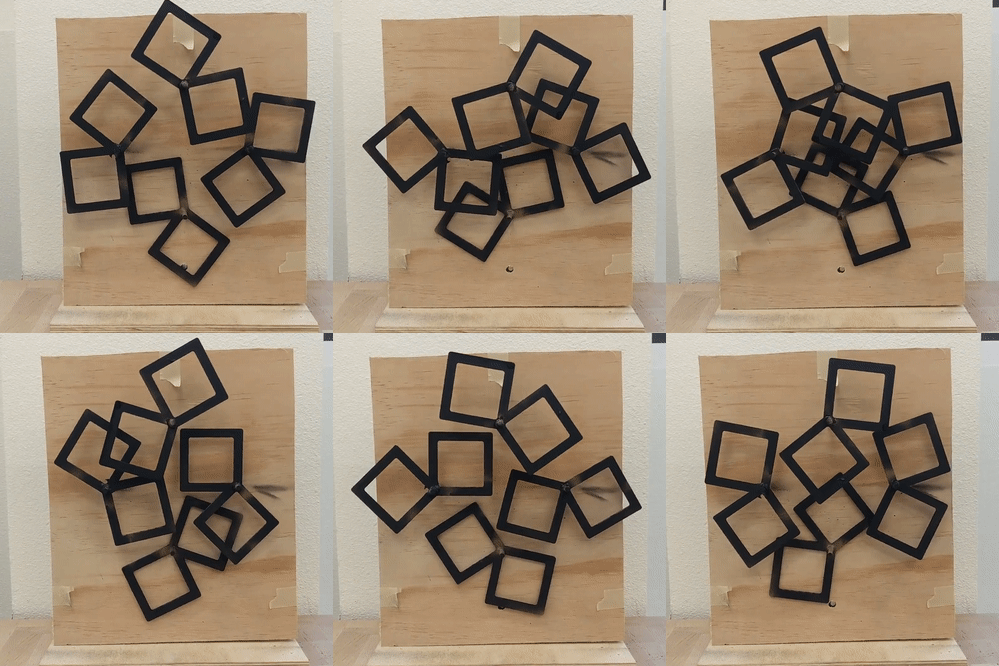
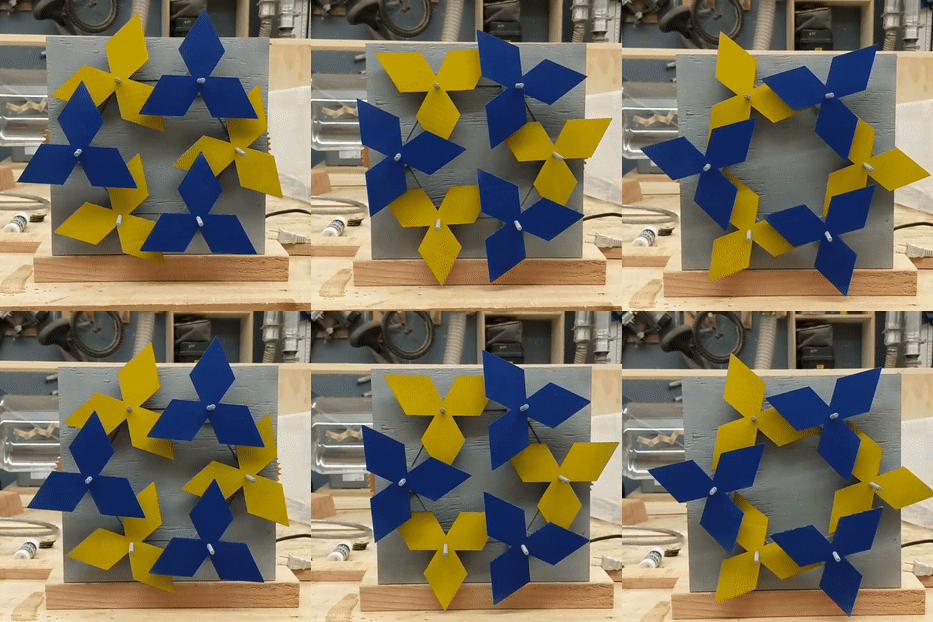
My initial prototype was made quickly and with scrap material. Rather than use 6 points of rotation like "Alhambra", I used 4 because it was a little easier to program. I also decided not to use tessellating shapes because I didn't realize that this was a main component of the original work, I just thought that any shape would look cool. I'm glad I made a prototype, because when I showed it to my teaching partner (who teaches math) she and I started geeking out over the possibilities. She saw a lot of connections to calculus and senior math. What's better, she gave me recommendations for how to emphasize those connections in my next draft. We were able to come up with design changes together and both get invested in the project, increasing the collaboration in the planning process. When I showed my prototype to other colleagues, they recommended I do 3 things: Use color, use 6 points and tessellating shapes, and slow down the motion. I did all these things for my second prototype and I liked it much better. However, in the first prototype, the open design of the spinning shapes allowed for really interesting interactions between the shapes, and when I used solid shapes in the second version that sense of depth was lost. For my final version my partner suggested using clear plastic to fill in the open spaces in the shapes to show their overlap and use color.
|
What worked:
- I experimented with a lot of shapes before I found one I liked. I used the laser cutter to prototype these out of cardboard which allowed me to quickly make adjustments and try a lot of shapes. I'll need to support the class in learning how to program the laser cutter so that they can rapidly prototype as well.
- The gear reduction in the machine makes it turn at about 1 RPM which is just right. If the motion is too quick then it is hard to appreciate, but too slow and it is not engaging.
What was surprising
- If the design doesn't use a tessellating shape, there are fewer lines of symmetry in the movement of the shapes.
- Solid shapes are not as interesting and open shapes
- I had a different idea for how to build my project fairly flat. I had hoped to install these like tiles on a wall, but the gears in the back are really interesting to look at, so I want viewers to be able to see both sides.
- The clear, colorful tiles are really interesting and open up more mathematical discussions. Personally, I usually design things to be black, white, and wood colored, so I'm glad that I got the critique from colleagues to use color, because the 3rd prototype is way better than the 1st one. Now I can talk about light and color science as part of this project.
Never again (future changes)
- 1/8 inch plywood is not appropriate for making gears because there is not enough room for error in assembly.
- The design must be made to stand freely. I think the best exhibition will be on a long shelf in a neat row.
Proudly powered by Weebly
